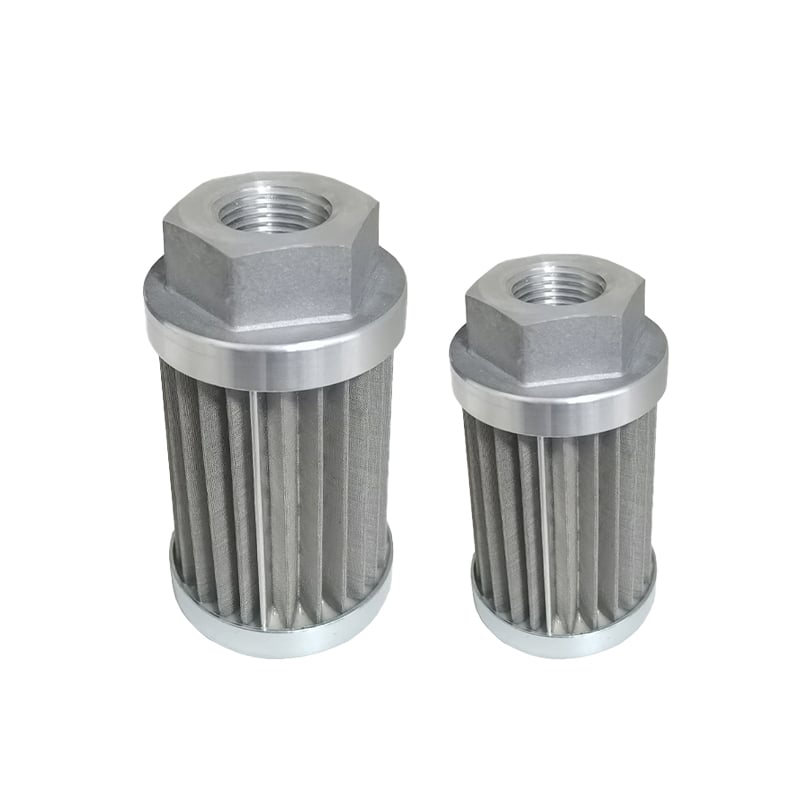
Replacing a hydraulic filter element involves several steps. Here's a general guide on how to do it:
-
Safety First: Always ensure that you are working in a safe environment and wear appropriate safety gear, such as gloves, safety glasses, and closed-toe shoes.
-
Gather the necessary tools and materials: You will need a new hydraulic filter element, wrench or socket set, and possibly a drain pan to catch any fluid that might leak during the process.
-
Drain the system: Before removing the old filter element, make sure to drain the hydraulic system by opening the bleeder valves. This will prevent any pressure buildup and potential damage to the system.
-
Remove the old filter element: Locate the filter element in the hydraulic system and use a wrench or socket set to loosen the bolts or clamps holding it in place. Once the filter is free, carefully remove it from the system.
-
Clean the area of the hydraulic filter element: Wipe away any debris or old oil from the area where the filter was removed. This will help prevent any contamination when installing the new filter.
-
Install the new filter element: Align the new filter element with the opening in the hydraulic system and hand-tighten the bolts or clamps. Do not over-tighten, as this can damage the threads or cause leaks.
-
Check for leaks: After tightening the bolts, check for any leaks by slowly closing the bleeder valves. If there are no leaks, the new filter element is installed correctly.
-
Refill the system of hydraulic filter element: Open the bleeder valves fully and refill the hydraulic system with fresh oil, following the manufacturer's guidelines for oil type and quantity.
-
Test the system of the hydraulic filter element: Finally, test the hydraulic system to ensure that the new filter element is functioning properly and not causing any issues.
Remember to consult your vehicle's service manual or the manufacturer's instructions for specific details on replacing the hydraulic filter element in your vehicle.
Quote Inquiry
Contact us!

