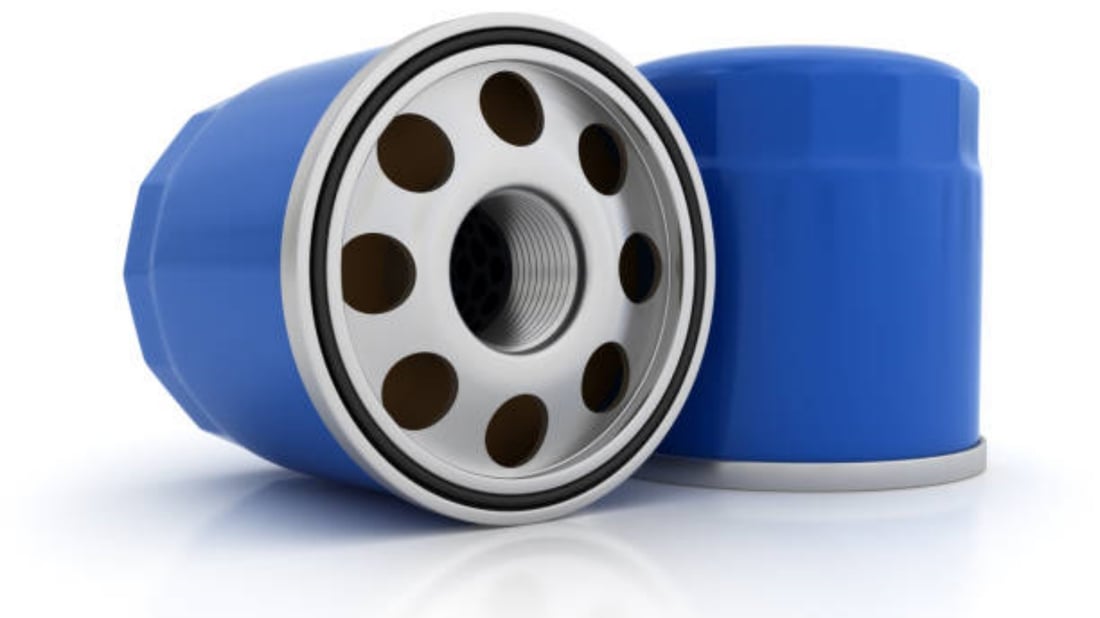
Understanding the Importance of Spin On Filters in Engine Maintenance
Spin on filters play a critical role in protecting engines by filtering contaminants from oil and other fluids. Their design allows for easy removal and replacement, making them a popular choice among both professional mechanics and DIY enthusiasts. A proper
Spin On Filter Replacement Guide ensures that the engine continues to operate efficiently and reduces wear and tear caused by impurities.
Tools Needed for Effective Spin On Filter Replacement
Before starting the replacement process, it is essential to gather the right tools. Commonly required items include a spin on filter wrench, drainage pan, gloves, and clean rags. Having the correct tools ensures a smooth replacement process, minimizes mess, and prevents damage to the new filter or the filter housing.
Preparing the Vehicle for Spin On Filter Replacement
Preparation is vital to a safe and efficient filter replacement. The vehicle should be parked on a level surface with the engine turned off and sufficiently cooled down to avoid burns. Engaging the parking brake and placing wheel chocks can also enhance safety during the replacement procedure.
Step-by-Step Process: Removing the Old Spin On Filter
Removing the existing spin on filter requires careful attention to avoid oil spillage. Using the filter wrench, turn the filter counter-clockwise until it loosens. Drain residual oil into a catch pan to maintain cleanliness. Proper disposal of the used oil and filter is also essential to comply with environmental regulations.
Inspecting the Filter Mount and Surrounding Area
After removing the old filter, inspect the mounting surface on the engine for dirt, damage, or leftover gasket material. Cleaning the area ensures a proper seal with the new filter, which is critical to preventing oil leaks. Any damage or residue can compromise filter performance and engine health.
Preparing the New Spin On Filter for Installation
Before installing the new spin on filter, lubricate the rubber gasket with fresh oil. This step helps create a tight seal and facilitates easier removal during the next replacement. Also, check that the new filter matches the specifications required for the vehicle model to avoid compatibility issues.
Installing the New Spin On Filter Correctly
Screw the new spin on filter onto the mount by hand until the gasket contacts the mounting surface. Then, tighten it according to manufacturer specifications, often about three-quarters of a turn more. Over-tightening can damage the gasket or filter housing, while under-tightening may cause leaks.
Refilling Oil and Checking Fluid Levels Post-Replacement
After fitting the replacement filter, replenish the engine oil to the recommended level, accounting for the oil lost during the filter change. Running the engine briefly allows the oil to circulate through the new filter. A subsequent check ensures that fluid levels remain stable and that there are no leaks.
Common Mistakes to Avoid During Spin On Filter Replacement
Several common errors can undermine the spin on filter replacement process. These include failing to lubricate the gasket, overtightening, not properly disposing of old filters, or neglecting to check for leaks afterwards. Avoiding these mistakes ensures optimal filter performance and engine longevity.
Benefits of Regular Spin On Filter Replacement
Consistent replacement of spin on filters is integral to maintaining engine health and efficiency. It prevents contamination buildup, reduces engine wear, and promotes better fuel economy. Following a detailed spin on filter replacement guide helps extend engine life and minimizes costly repairs over time.
Quote Inquiry
contact us